<!DOCTYPE html>

Image: highshower.com
Introduction
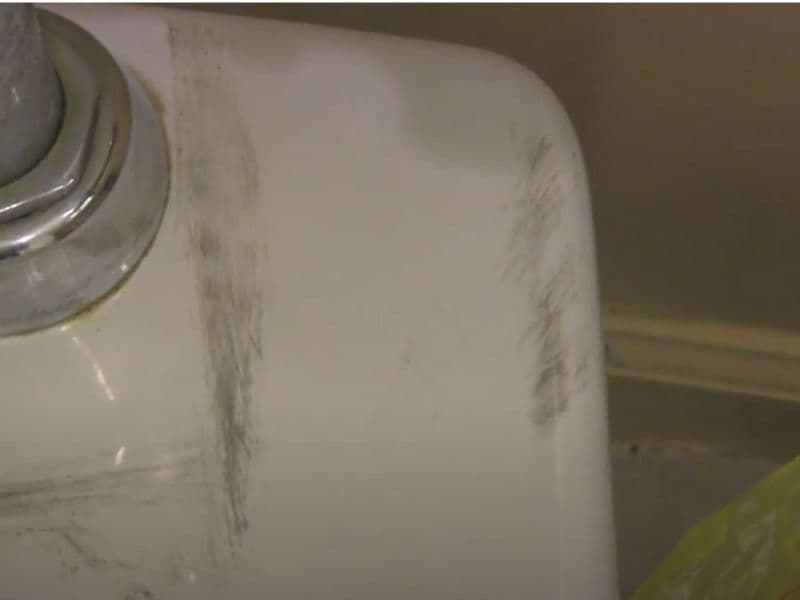
Toilets, ubiquitous fixtures in our bathrooms, often bear the brunt of everyday use and cleaning. Despite regular maintenance, minor mishaps can occur, leaving unsightly scratches on the toilet bowl’s surface. These scratches can be a source of frustration, not only compromising the aesthetic appeal of your bathroom but also potentially providing a breeding ground for bacteria. However, with the right techniques and materials, it’s entirely possible to restore the pristine condition of your toilet bowl, effectively eliminating those unsightly scratches. This comprehensive guide will shed light on the intricacies of toilet bowl scratch repair, empowering you with the knowledge and expertise to tackle this task with confidence.
Understanding the Types of Toilet Bowl Scratches
Before embarking on the repair process, it’s essential to identify the type of scratch you’re dealing with. Toilet bowl scratches can be categorized into two primary types:
- Light scratches: These are superficial blemishes that have not penetrated the toilet bowl’s glaze. These scratches are often caused by mild abrasives such as toilet brushes or cleaning wipes.
- Deep scratches: These scratches are more severe and extend beyond the surface glaze. They are often caused by accidental impact with sharp objects or abrasive cleaners. Deep scratches can be more challenging to repair, but it’s still possible with the proper techniques.
Once you have accurately identified the scratch type, you can choose the appropriate repair method and materials.
Recommended Tools and Materials for Toilet Bowl Scratch Repair
Success in toilet bowl scratch repair hinges on employing suitable tools and materials for the task. Here’s what you’ll need:
- Soft cloths or sponges
- Commercial toilet bowl cleaner
- Fine-grit sandpaper (1000-grit or higher)
- Automotive polishing compound
- Soft cotton balls or applicator
- Baking soda
- Vinegar
With these tools in your arsenal, you’re ready to begin the scratch repair process. Let’s dive into the steps, depending on the severity of scratches.

Image: www.pinterest.com
Step-by-Step Repair Instructions
For Light Scratches
- Clean the Toilet Bowl: As a preliminary step, thoroughly clean the toilet bowl with a commercial toilet bowl cleaner to remove any dirt, bacteria, or residual cleaning agents.
- Apply a Polishing Compound: Apply a small amount of the automotive polishing compound to a soft cotton ball or applicator. Gently rub the scratched area in a circular motion with light pressure. Continue rubbing until the scratch becomes less noticeable.
- Rinse and Dry: Once you have polished the scratch, rinse the area thoroughly with clean water and dry it with a clean cloth.
For Deep Scratches
- Sand the Scratch: Start by sanding the scratched area with the 1000-grit sandpaper. Use very light pressure and a circular motion to avoid damaging the surrounding glaze. Continue sanding until the deep part of the scratch has been leveled with the surface.
- Polish the Sanded Area: Follow the same polishing process as described above for light scratches, using a cotton ball or applicator and an automotive polishing compound.
- Seal the Repair: To protect the repaired area from future scratches and stains, apply a clear sealant, such as nail polish or epoxy, over the polished surface.
Tips for Effective Toilet Bowl Scratch Repair
- Use soft cloths and sponges: Avoid using abrasive materials or sponges on the toilet bowl surface, as they can create further scratches.
- Test the polishing compound first: Before applying the polishing compound to the actual scratch, test it on an inconspicuous area to ensure it will not damage the glaze.
- Sand with light pressure: When sanding deep scratches, use very light pressure to avoid damaging the surrounding glaze.
- Rinse the bowl thoroughly: After each step, rinse the toilet bowl thoroughly to remove any residue.
- Allow the sealant to dry properly: After applying a sealant, allow it to dry completely as per the manufacturer’s instructions.
FAQs
Q: Can I use bleach to remove scratches from the toilet bowl?
A: No, bleach is a powerful chemical that can damage the toilet bowl’s glaze.
Q: What if the scratch is too deep and cannot be sanded away?
A: In this case, contacting a professional plumber or bathroom restoration specialist may be necessary to assess and repair the damage.
Q: How can I prevent future scratches on my toilet bowl?
A: Using a toilet bowl brush with soft bristles and avoiding abrasive cleaners can help prevent future scratches.
How To Fix Toilet Bowl Scratches
Conclusion
Toilet bowl scratches, while unsightly, can be effectively removed with the right techniques and materials. Whether you’re dealing with light or deep scratches, following the steps outlined in this guide will help you restore your toilet bowl to its original pristine condition. Remember, patience, attention to detail, and the proper tools are essential for a successful repair.
So, are you ready to bid farewell to those unsightly toilet bowl scratches? Arm yourself with the knowledge and expertise you’ve gained from this article, and get ready to enjoy a spotless, scratch-free toilet bowl once again!