Introduction
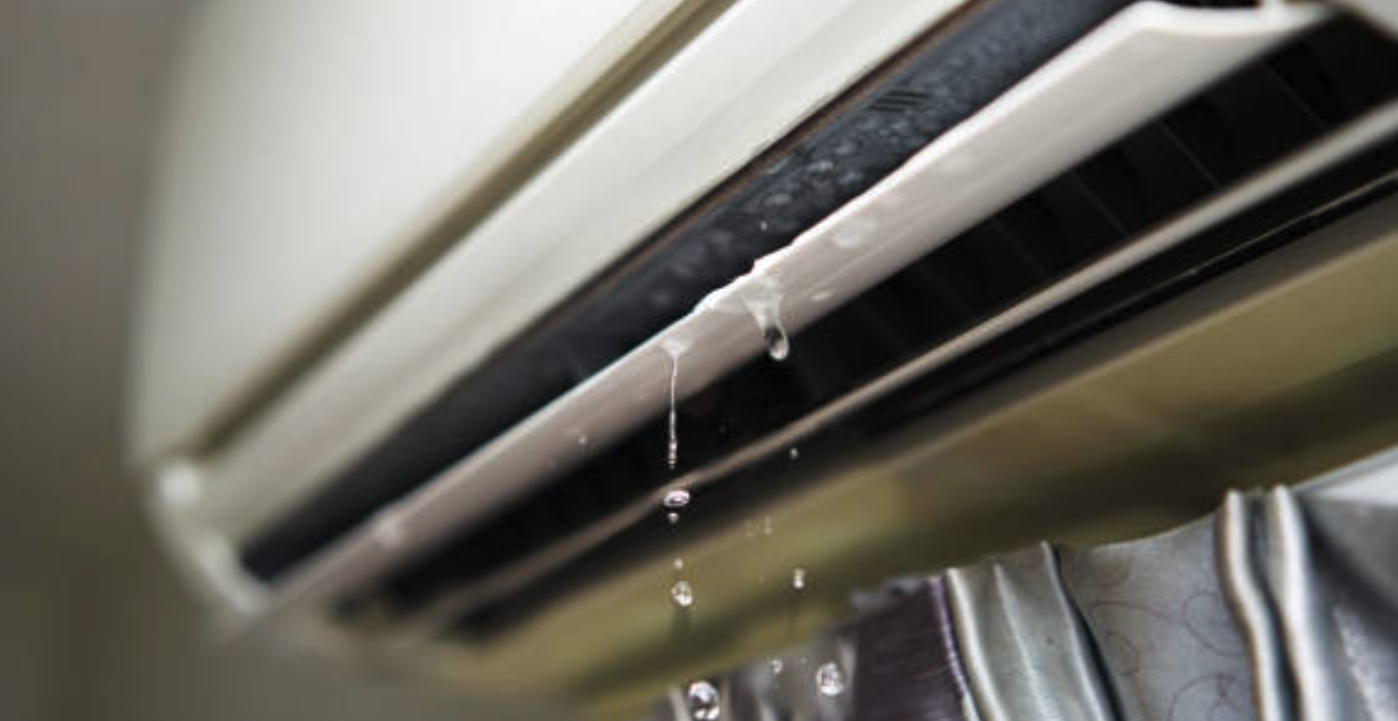
Imagine waking up to a chilly home on a freezing winter night. You reach for the thermostat, but it fails to warm the air. As you inspect the HVAC system, you notice water dripping from the unit. Panic sets in as you realize your heater is leaking. Fixing an HVAC leak is crucial for maintaining a comfortable indoor climate and preventing costly damage to your property. In this comprehensive guide, we’ll delve into the causes of HVAC leaks and provide step-by-step instructions on how to fix them yourself or when to call a professional.

Image: hvac-boss.com
Identifying the Source of the Leak
Before attempting repairs, it’s essential to identify the source of the leak. Here are common areas to check:
- Condensate Drain Line: This line drains excess moisture from the AC unit outside. If it becomes clogged or disconnected, water can backflow into the system and leak indoors.
- Evaporator Coil: Located inside the air handler, this coil collects moisture from the air. A frozen coil can cause water to accumulate and drip.
- Condenser Unit: The outdoor unit contains refrigerant coils that release heat from the AC system. Leaks can occur if these coils develop cracks or holes.
- Refrigerant Lines: These lines carry refrigerant between the indoor and outdoor units. Leaks in these lines can release refrigerant and cause water to accumulate.
- Air Filter: A dirty air filter can restrict airflow, causing the evaporator coil to freeze and leak water.
Step-by-Step Repair Guide
Safety First: Before starting any repairs, turn off the power to the HVAC system and discharge any residual electricity by unplugging the unit. Wear appropriate safety gear such as gloves and safety glasses.
1. Condensate Drain Line Clog:
- Locate the condensate drain line, usually a white or clear plastic pipe leading away from the air handler.
- Pour a cup of white vinegar down the drain to clear any clogs.
- If the clog persists, use a wet/dry vacuum to suck out debris.
2. Evaporator Coil Freeze:
- Ensure the air filter is clean. A dirty filter restricts airflow and causes the coil to freeze.
- Check for any ice buildup on the coil and allow it to thaw naturally.
- If the coil remains frozen, call a qualified HVAC technician for further inspection.
3. Condenser Unit Leak:
- Check for visible cracks or holes in the refrigerant coils. If detected, these repairs should be handled by a professional technician.
- Ensure the area around the condenser unit is clear of debris and vegetation that could obstruct airflow.
4. Refrigerant Line Leak:
- Refrigerant leaks require specialized tools and expertise to fix. Contact a licensed HVAC technician immediately to avoid further damage to the system.
5. Air Filter Replacement:
- Regularly check and replace your air filter every few months to prevent airflow restriction and potential leaks.
- Use a filter with a high MERV rating (minimum 8) for optimal filtration and reduced risk of coil freezing.
When to Call a Professional
While some HVAC leaks can be fixed by DIY enthusiasts, certain repairs necessitate professional intervention. These include:
- Refrigerant leaks
- Frozen evaporator coils that fail to thaw naturally
- Major leaks from the air handler or condenser unit
- Electrical issues related to the HVAC system

Image: nelsgarage.com
How To Fix Hvac Leaking Water
Conclusion
Fixing an HVAC leak is essential for maintaining a comfortable indoor climate, preventing property damage, and ensuring efficient operation of your HVAC system. By following the steps outlined in this guide, you can successfully fix minor leaks yourself. However, if you encounter complex issues or suspect a major leak, do not hesitate to call a qualified HVAC technician to diagnose and resolve the problem promptly. Remember, addressing HVAC leaks proactively saves money, ensures a healthier indoor environment, and extends the lifespan of your HVAC system. Stay warm and comfortable with a leak-free HVAC system!