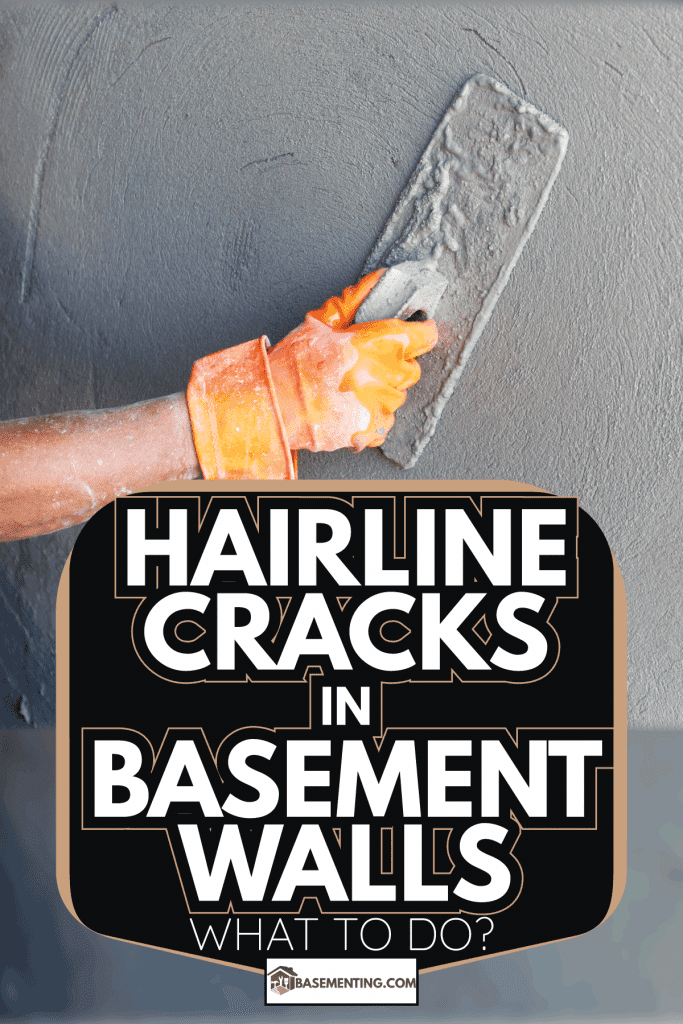
Have you ever gazed upon the walls of your abode and noticed the telltale signs of time’s relentless march – hairline cracks? Fear not, for these are but minor blemishes that can be easily mended with a few simple steps. In this article, we will delve into the world of hairline cracks, exploring their causes and providing you with a step-by-step guide to restore your walls to their pristine glory.

Image: basementing.com
Understanding the Causes of Hairline Cracks
Before we embark on our repair journey, it’s essential to understand the underlying causes of hairline cracks. These cracks are often a natural consequence of the expansion and contraction of building materials due to changes in temperature and humidity. They can also arise from the settling of a new home or building, as well as from structural movement caused by nearby construction or seismic activity.
Step-by-Step Guide: Mending Hairline Cracks
-
Preparation is Key: Before you begin, gather your tools – a putty knife, spackling paste, fine-grit sandpaper, and a damp sponge. Ensure that the area around the crack is clean and dust-free.
-
Apply the Spackling Paste: Using your putty knife, carefully apply a small amount of spackling paste over the crack. Spread the paste evenly, ensuring that it fills the crack completely.
-
Smooth it Out: Once the spackling paste is in place, use your putty knife to gently smooth it out. Wipe away any excess paste with a damp sponge. Allow the spackling paste to dry completely.
-
Sanding for Perfection: Once the spackling paste is dry, use fine-grit sandpaper to gently sand the repaired area until it is flush with the surrounding wall surface. This step will remove any bumps or imperfections, leaving you with a seamless finish.
-
Prime and Paint: To ensure that the repaired area blends seamlessly with the rest of the wall, apply a coat of primer to the patched area. Allow the primer to dry completely, then apply a coat of paint that matches the existing wall color.
Expert Insights and Actionable Tips
-
Caulk for Prevention: To prevent hairline cracks from reappearing in the future, consider applying a thin bead of caulk along the repaired area. Caulk creates a flexible seal that can accommodate movement and prevent cracking.
-
Humidity Control: Maintaining proper humidity levels in your home can help prevent drywall from expanding and contracting, reducing the risk of hairline cracks. Invest in a humidifier to regulate moisture levels, especially during dry seasons.
Conclusion
Repairing hairline cracks in painted walls is a simple and cost-effective task that can restore your walls to their pristine condition. By following the steps outlined above and incorporating the expert tips provided, you can easily eliminate these unsightly blemishes and enjoy a smooth, flawless wall surface. Remember, with a little care and attention, you can keep your walls looking their best for years to come.

Image: www.kwikbond.com
How To Fix Hairline Cracks In Painted Walls