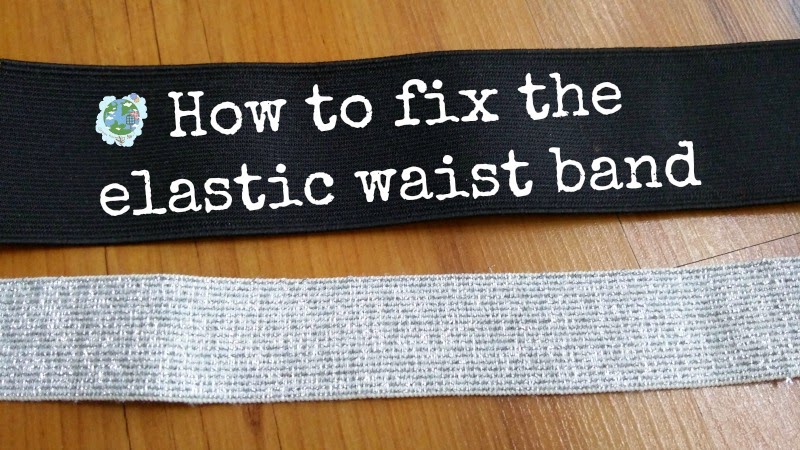
Elastic waistbands have become a wardrobe staple for their comfort and versatility. Whether it’s a pair of cozy sweatpants or a stylish skirt, these stretchy bands provide a secure yet flexible fit. However, even the most durable elastic can succumb to the wear and tear of daily use, leaving you with a stretched-out waistband that no longer holds its shape.

Image: greenissuessingapore.blogspot.sg
Restoring Elasticity: A Simple Guide
Fret not, fixing an elastic waistband is a relatively simple task that requires minimal tools and effort. Here’s a step-by-step guide to restore the elasticity and functionality of your beloved garments:
Materials You’ll Need:
- A sewing machine or needle and thread
- Elastic in the same width as the waistband (double the length of the desired elastic extension)
- Scissors
- Iron and ironing board (optional)
Instructions:
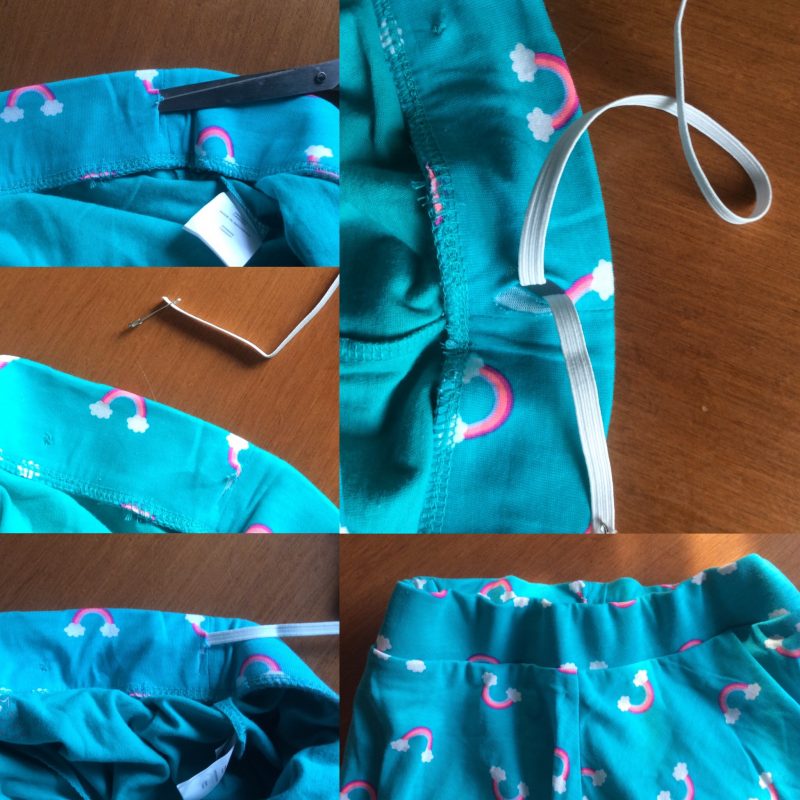
- Identify the Break: Examine the elastic and locate the section that is stretched out or broken.
- Remove Damaged Section: Cut out the damaged portion of the elastic, leaving a clean edge at both ends.
- Insert New Elastic: Take the new elastic and overlap it with the remaining elastic on one side by approximately 1 inch. Sew the two pieces together securely using a zigzag stitch.
- Repeat on Other Side: Repeat step 3 on the other side of the waistband, connecting the new elastic to the existing elastic with a zigzag stitch.
- Reinforce Stitching: For added durability, sew a small square or rectangle around the area where the new elastic is attached to the waistband.
- (Optional) Ironing: To give your newly fixed waistband a professional look, you can iron it on a low heat setting, taking care not to melt the elastic.

Image: offbeathome.com
Expert Tips for Elastic Waistband Longevity
To maintain the elasticity and longevity of your waistbands, consider these expert tips:
Tip 1: Hand Wash or Use a Delicate Cycle
Aggressive machine washing can stretch out the elastic. Opt for hand washing or a delicate cycle with cold water and a mild detergent.
Tip 2: Air Dry or Tumble Dry on Low
Avoid the heat of a hot dryer, as this can damage the elastic fibers. Air dry your garments or tumble dry them on a low heat setting.
Tip 3: Avoid Overstretching
Be mindful of how you wear and remove your garments. Avoid pulling or tugging on the elastic, as this can weaken it over time.
Tip 4: Iron with Caution
If you need to iron your waistband, do so on a low heat setting and use a pressing cloth or iron through a piece of fabric to protect the elastic.
Frequently Asked Questions (FAQs)
Q: What kind of elastic should I use to repair my waistband?
A: Choose a new elastic that matches the width and thickness of the existing elastic.
Q: Can I fix a broken elastic waistband without sewing?
A: While sewing is the most reliable method, you can try using a fabric glue that is specifically designed for elastic materials.
Q: How often should I replace my elastic waistbands?
A: The frequency of replacement depends on the frequency of wear and washing. As a general rule, you may consider replacing elastic waistbands every few years or as needed.
How To Fix Elastic Waistband
Conclusion
Fixing an elastic waistband is an easy way to revive your beloved garments and save yourself from buying new ones. By following the simple steps outlined in this article and incorporating the expert tips, you can ensure that your elastic waistbands remain comfortable and functional for years to come.
If you found this article informative, please share it with your friends and family who might also benefit from these practical tips. Let us know if you have any questions or need further assistance with elastic waistband fixes.