Introduction:

Image: whereintop.com
The sight of peeling cabinets can be a homeowner’s nightmare. Not only do they detract from the aesthetics of your kitchen or bathroom, but they can also signal deeper problems, such as moisture damage or poor ventilation. If you’re facing this dilemma, don’t panic! Fixing peeling cabinets is entirely possible with the right approach and materials. In this article, we’ll guide you through a comprehensive step-by-step plan to restore your cabinets to their former glory.
Understanding the Causes of Peeling Cabinets:
Before embarking on repairs, it’s crucial to understand what causes cabinets to peel in the first place. Common culprits include:
- Excessive moisture: Exposure to high humidity or leaks can cause the finish to soften and peel.
- Heat: Heat from appliances, sunlight, or under-cabinet lighting can dry out the finish, making it brittle and more susceptible to peeling.
- Poor adhesion: If the paint or finish wasn’t applied properly initially, it’s more likely to peel over time.
- Age and wear: Cabinets naturally age over time, and the finish can become worn and weak.
Materials You’ll Need:
To fix peeling cabinets, you’ll need the following materials:
- Sandpaper (120-grit and 220-grit)
- Tack cloth or damp rag
- Spackling paste or wood filler
- Putty knife
- Primer (oil-based or latex-based)
- Paint (same color as your cabinets)
- Paintbrush or roller
- Clear polyurethane (optional)
Step-by-Step Guide to Fixing Peeling Cabinets:
1. Prepare the Surface:
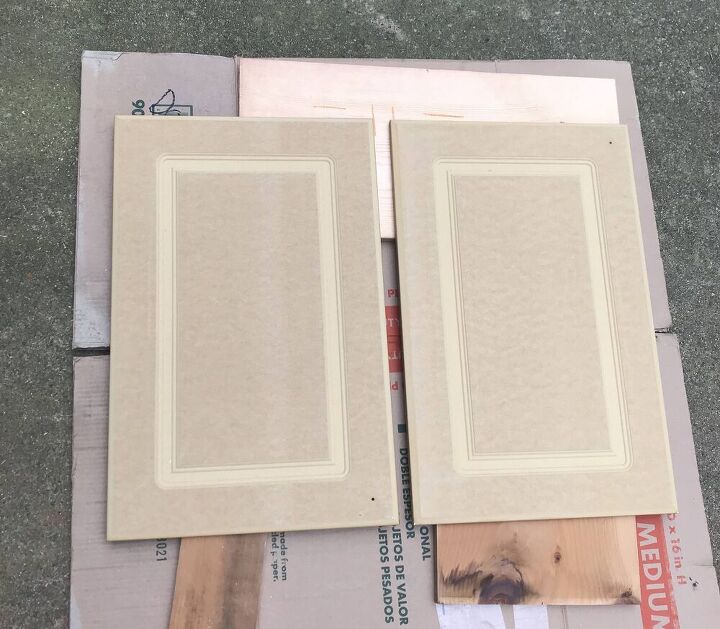
- Remove all cabinet doors and drawers.
- Using 120-grit sandpaper, gently sand the peeling areas until smooth.
- Wipe away dust with a tack cloth or damp rag.
2. Fill Holes and Cracks:
- If there are any holes or cracks in the cabinets, use spackling paste or wood filler to fill them in.
- Apply the filler generously with a putty knife, ensuring it’s level with the surrounding surface.
- Allow the filler to dry completely.
3. Scuff the Surface:
- Use 220-grit sandpaper to lightly scuff the entire cabinet surface, including sanded areas and the surrounding areas.
- This will create a bond between the new paint and the old finish.
4. Apply Primer:
- Apply a coat of primer to the entire cabinet surface.
- For wood cabinets, use an oil-based primer. For painted cabinets, use a latex-based primer.
- Allow the primer to dry completely.
5. Paint the Cabinets:
- Apply two coats of paint to the cabinets.
- Allow each coat to dry completely before applying the next.
- If desired, apply a coat of clear polyurethane to protect the paint finish.
6. Reinstall Doors and Drawers:
- Once the cabinets are completely dry, reinstall the doors and drawers.
Expert Insights:
- “When choosing a paint color, consider the current color of your cabinets and the overall aesthetic of your space,” advises interior designer Christina Lund. “A neutral color, such as white or cream, can provide a timeless look.”
- “To prevent peeling in the future, ensure your cabinets are properly ventilated,” says home inspector Mike Stevens. “Install exhaust fans in kitchens and bathrooms to remove excess moisture.”
Conclusion:
Fixing peeling cabinets is not as daunting as it may seem. By following the steps outlined in this article, you can restore your cabinets to their former beauty and functionality. Remember to pay attention to the causes of peeling to prevent future problems. With a little effort and the right materials, your cabinets will look impeccable once more!

Image: 99easyrecipes.com
How To Fix Peeling Cabinets